Password Validation Check in HTML CSS & JavaScript | Show Hide Password Toggle
#Week 06 of 52 Weeks in JavaScript Projects
Overview:
Welcome to our JavaScript Password Validation Check Coding Tutorials.
In this article, we'll walk you through a step-by-Step guide to building a fully functional password validation check from scratch using HTML, CSS and of course, JavaScript.
You'll learn how to implement an essential password validator to safeguard sensitive data and protect against unauthorized access to check your passwords effectively with the given guidelines for password management. This will include functionalities like showing and hiding the passwords in the user text box.
💫 Watch Live Preview 👉👉 Show Hide with Validation Check
Throughout this video, we'll cover key concepts such as DOM manipulation, event handling, REGEX integration, Conditional statements and principles of password security, that enhance the security of your password and contribute to a safer online environment.
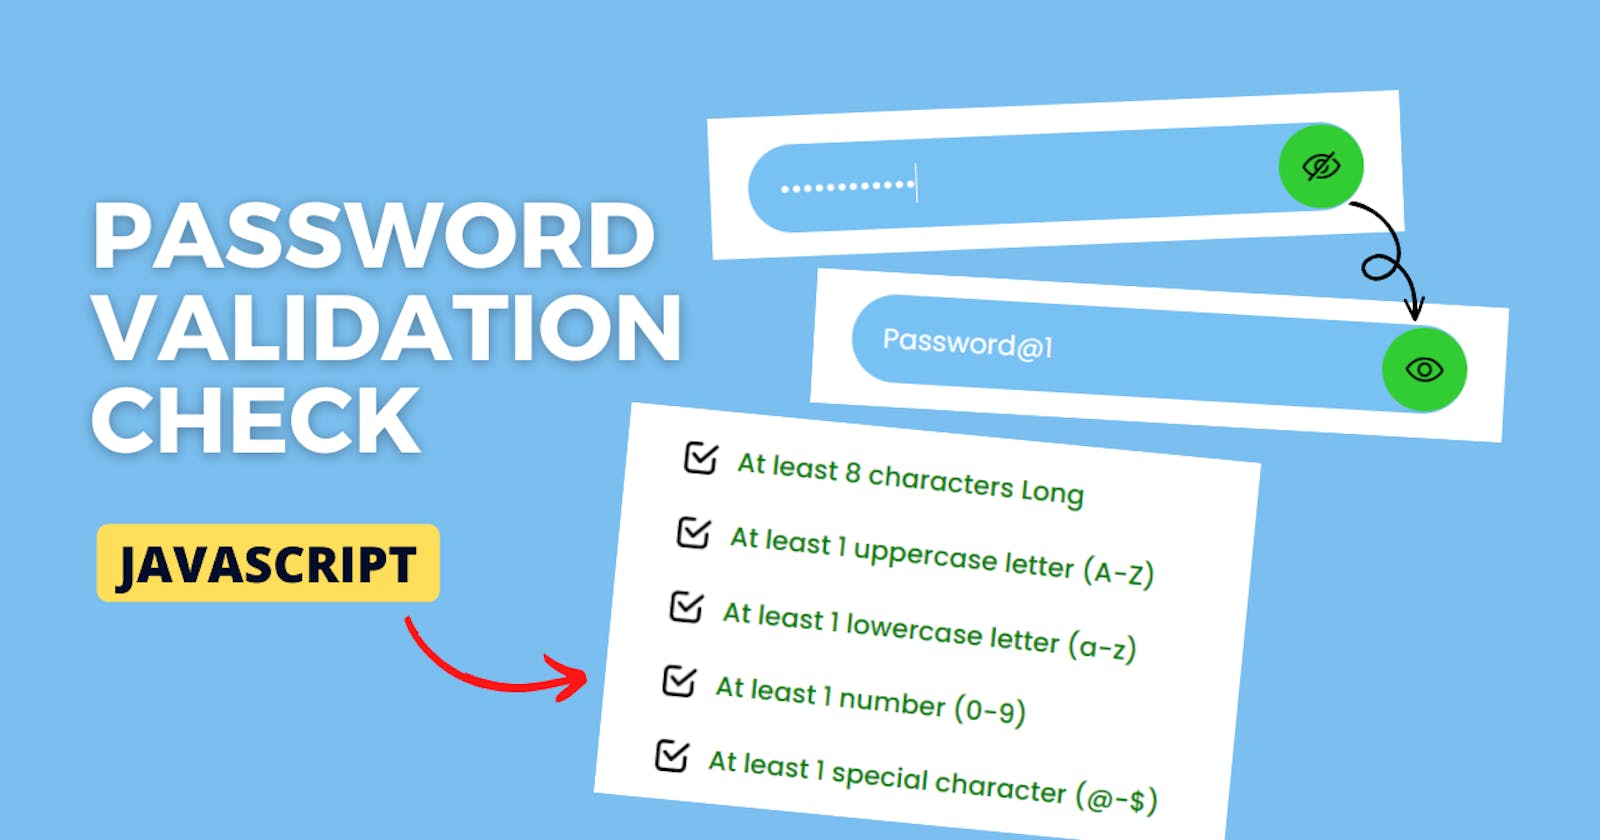
By the end of this video, you'll have a powerful password validator tool that will check the security-conscious, like whether the user-entered password contains at least 8 characters long, 1 uppercase and 1 lowercase, and at least 1 number and special character. This will make our password strong and effortless.
Let's get started on creating your own javascript-powered password validator app now! HAPPY CODING!
You might like this: Random Strong Password
If you're already aware of the basics then directly jump to implementation with Step 4.
Prerequisites:
Basic knowledge of HTML, CSS, and JavaScript.
A code editor of your choice.
Introduction:
In the ever-evolving landscape of digital security, the strength of our passwords stands as the first line of defense against cyber threats. Crafting a robust password is no longer a mere precaution; it's a necessity in safeguarding our virtual identities. Welcome to the forefront of cyber hygiene – our Password Validator Tool, a cutting-edge solution designed to empower you with the knowledge and tools to fortify your online security.
Step 1: Set Up Your Project:
Create a new folder for your project, project name as per your wish I have created a project name called Password Validator and inside it, create three files: index.html, style.css, and script.js. These files will serve as the foundation for your Password Validator. Otherwise, if you want clone my Project-Structure-Example and start working with me.
Step 2: Build the Basic HTML Structure:
In the index.html file, create the HTML structure for your app and add the HTML Boilerplate with linking files (style.css, script.js) into an HTML file.
The <link> tag defines the relationship between the current document and an external resource. (style.css)
The <script> tag is used to embed a client-side script (JavaScript). or it points to an external script file through the src attribute. (script.js)
<!DOCTYPE html>
<html lang="en">
  <head>
    <meta charset="UTF-8" />
    <meta name="viewport" content="width=device-width, initial-scale=1.0" />
    <title>Password Validator - By Sharathchandar.K</title>
    <link rel="stylesheet" href="style.css" />
  </head>
  <body>
    <!-- Container here -->
    <script type="text/javascript" src="script.js"></script>
  </body>
</html>
First, will add the div with the class attribute value of the container inside the body element. The div tag defines a division or a section in an HTML document.
<div class="container">
    <h2>PASSWORD VALIDATOR</h2>
    <!-- Inside the container will add an HTML elements.-->
</div>
Step 3: Style Your App with CSS:
In the style.css file, and add CSS rules to make your app visually appealing.
We are setting all elements to have zero margins and zero padding, this will make the same in all the browsers. with the help of * and the font family Poppins and then will set the background color to the entire body with styles to the container too.
@import url("https://fonts.googleapis.com/css2?family=Poppins:wght@400;500;600&display=swap");
* {
  margin: 0;
  padding: 0;
  font-family:  "Poppins", sans-serif;
  box-sizing: border-box;
}

body {
  background: #78c1f3;
  min-height: 100vh;
  display: flex;
  align-items: center;
  justify-content: center;
}

.container {
  background: #ffffff;
  padding: 25px;
  width: 450px;
  border-radius: 10px;
}

.container h2 {
  text-align: center;
  margin-bottom: 25px;
}

Step 4: Implementing Password Body with Inputs & Icon:
Inside the container will add the password body as a main div and then in the child root will add another div that contains password inputs with the element contains input with the type password and the image with source contains hide png.
<div class="password-body">
    <div class="password-inputs">
        <input type="password" name="validatorText" id="validatorText" />
        <img id="ShowHide" src="images/hide.png" />
    </div>
</div>
will add the styles to the above div's and elements like Input and Img.
.password-inputs {
  display: flex;
  align-items: center;
  justify-content: space-between;
  background: #78c1f3;
  border-radius: 30px;
  padding-left: 20px;
  margin-bottom: 25px;
}

.password-inputs input {
  flex: 1;
  background: transparent;
  border: none;
  outline: none;
  padding: 15px 0;
  font-size: 18px;
  color: #ffffff;
}

.password-inputs img {
  height: 55px;
  width: 55px;
  cursor: pointer;
  background: limegreen;
  border-radius: 30px;
  padding: 15px;
}

Step 4.1: Implementing Password Check area:
Below the password inputs will add another div called password check this contains collection of password check options this will display and indicate the user what type of password string as user entered on the above password input.
<div class="password-check">
    <div class="check-length">
        <img src="images/close.png" /> At least 8 characters Long
    </div>
    <div class="check-uppercase">
        <img src="images/close.png" /> At least 1 uppercase letter (A-Z)
    </div>
    <div class="check-lowercase">
        <img src="images/close.png" /> At least 1 lowercase letter (a-z)
    </div>
    <div class="check-number">
        <img src="images/close.png" /> At least 1 number (0-9)
    </div>
    <div class="check-special">
        <img src="images/close.png" /> At least 1 special character (@-$)
    </div>
</div>
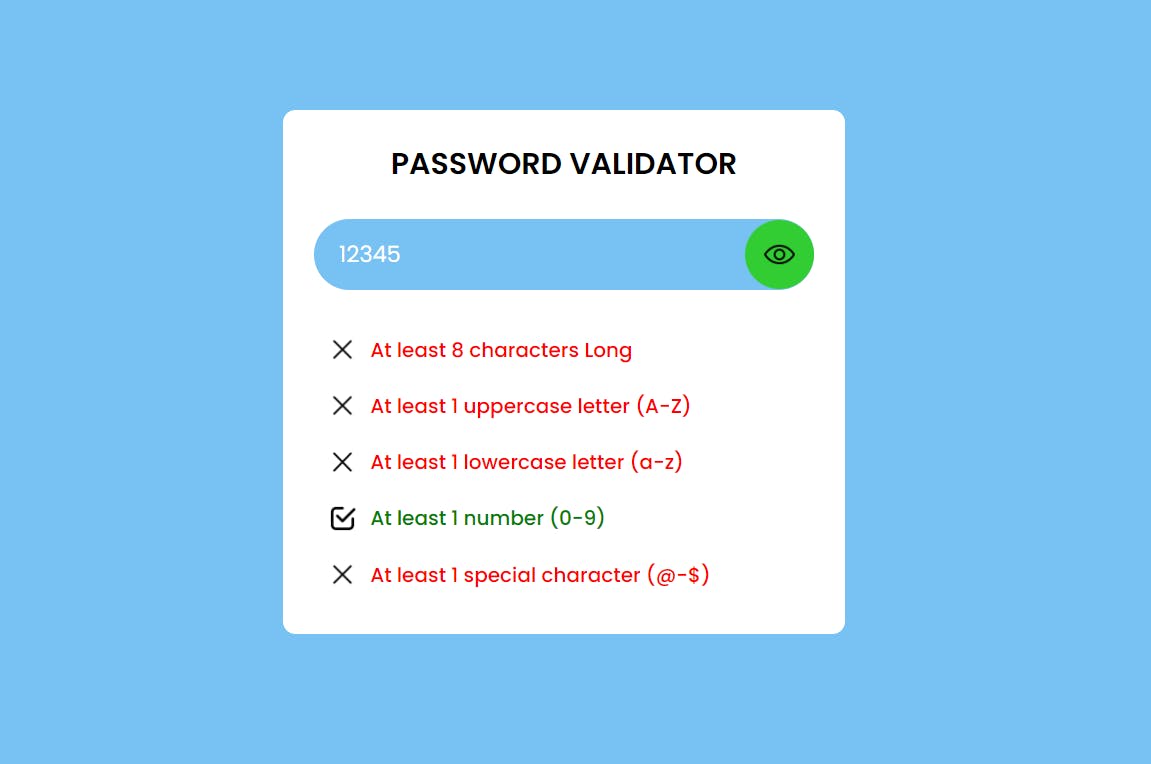
the above div.'s sets options like At least 8 characters Long, At least 1 uppercase letter (A-Z), At least 1 lowercase letter (a-z), At least 1 number (0-9), At least 1 special character (@-$) with cross images shows the conditions are not satisfied with the entered password in the input.
.password-check div {
  display: flex;
  padding: 10px;
  align-items: center;
  font-weight: 500;
  color: red;
}

.password-check img {
  height: 25px;
  padding-right: 10px;
}
will add the styles to the above HTML element to display with the style.

Step 5: Implement the JavaScript Functionality:
In the script.js file, which will write the JavaScript code to make your app interactive. Create declarations and functions for manipulating operations in the calculator. You can use the Document Object Model (DOM) to manipulate elements in your HTML.
First will declare all the declarations with the help of a document object, the document object represents the owner of all other objects on your web page.
const validatorText = document.getElementById("validatorText");
const ShowHide = document.getElementById("ShowHide");
const passwordCheck = document.querySelectorAll(".password-check img");
validatorText.focus();
with the help of above declarations will validate the entered passwords and will add the provision to the user to show and hide the entered password with one click.
const combinations = [
  { regex: /.{8}/, key: 0 },
  { regex: /[A-Z]/, key: 1 },
  { regex: /[a-z]/, key: 2 },
  { regex: /[0-9]/, key: 3 },
  { regex: /[^A-Za-z0-9]/, key: 4 },
];
will add the combinations to check the entered values pattern with the help of regex as an object this will check and help to identify the combination as user entered.
ShowHide.addEventListener("click", function (e) {
  validatorText.type = validatorText.type === "text" ? "password" : "text";
  e.target.setAttribute(
    "src",
    e.target.src.includes("hide.png") ? "images/show.png" : "images/hide.png"
  );
});
will the above event function for show hide click help to change the input type from password to text and text to password as an input based on type will display the entered text or dots in the inputs.


validatorText.addEventListener("keyup", function (e) {
  combinations.forEach((item) => {
    const IsValid = item.regex.test(e.target.value);
    const checkItem = passwordCheck[item.key];

    if (IsValid) {
      checkItem.src = "images/checked.png";
      checkItem.parentElement.style.color = "green";
    } else {
      checkItem.src = "images/close.png";
      checkItem.parentElement.style.color = "red";
    }
  });
});
the above keyup event function will help to check the selected options based on user entered in the input box inside the function will added a foreach loop with the combination pattern regex will check the text based on entered values if its valid/pass will return true based on this we have changed the images from cross to checked in the password options this will indicate the user entered text contains matched passwords and displayed valid with color change sign.

Step 6: Test and Customize:
Open your index.html file in a web browser to test your Password Validator.
Now you can perform all the operations to check with entered password contains At least 8 characters Long, At least 1 uppercase letter (A-Z), At least 1 lowercase letter (a-z), At least 1 number (0-9), At least 1 special character (@-$) or all the combination at the same time or will try with different combination tooo. You can further customize and enhance your app by implementing features like character length with how many hours to crack this password with the exact calculation to be displayed in the detailed view.
Conclusion:
Congratulations! You've successfully created an Password Validator using HTML, CSS, and JavaScript. This project is an excellent starting point for learning web development and the javascript array & string operations that can be expanded with additional features to suit your needs. Happy coding!
Join our ever-growing community on YouTube, where we explore Full Stack development, learn, and have fun together. Your subscription is a vote of confidence, and it enables us to keep producing high-quality, informative videos that you can enjoy and share with your friends and family.
So, if you haven’t already, please hit that subscribe button, click the notification bell, and be a part of our YouTube family. Let’s continue learning, growing, and sharing knowledge in exciting and innovative ways.
Thank you once again for your support, and we look forward to seeing you on our YouTube channel!
