How To Create Random Strong Password Generator using HTML CSS & JavaScript

Code Hunter Sharath 🚀
I’m a Full Stack Developer with 9+ years of real-world experience (since 2015). On this channel, I help you learn by building — not just tutorials, but practical projects that actually matter.
You’ll find step-by-step content on JavaScript, React, Next.js, Angular, Node.js, and full-stack application development. From beginner fundamentals to advanced real-world projects, everything here is designed to help you think like a developer.
💡 This channel is for you if you want to: • Build real-world projects • Strengthen your problem-solving skills • Create a portfolio recruiters care about • Grow from beginner to job-ready developer
I strongly believe anyone can learn to code — with consistency, patience, and hands-on practice. Programming becomes simple when you stop watching and start building.
👉 Subscribe and start your journey with real projects, real skills, and real growth.
#Week 05 of 52 Weeks in JavaScript Projects
Overview:
Welcome to our JavaScript Random Strong Password Generator App Coding Tutorials.
In this article, we'll walk you through a step-by-Step guide to building a fully functional password generator application from scratch using HTML, CSS and of course JavaScript.
You'll learn how to implement logic to generate random passwords, customize the password length, and include various character types to manage and generate your password as cryptographically secure random values.
✅ Watch Live Preview 👉👉 Random Strong Password
Throughout this video, we'll cover key concepts such as DOM manipulation, event handling, and MATH operations that enable you to building a handy tool that generates secure and unpredictable passwords to enhance your online security.
📝Strong Password Generator using JavaScript 👇
By the end of this video, you'll have your own powerful, Random Strong Password generator tool that allows you to build a dynamic password with complex combinations of letters, numbers, and special characters effortlessly.
You might like this: Age Calculator App
Let's get started on creating your own javascript-powered password generator now! HAPPY CODING!
If you're already aware of the basics then directly jump to implementation with Step 4.
Introduction:
In the age of cyber connectivity, where our digital lives are a complex web of usernames and passwords, the importance of a robust and secure password cannot be overstated. As we navigate the vast landscape of online platforms, safeguarding our personal information is paramount. Enter our Password Generator Tool—an indispensable ally in the quest for digital security.
In a world where cyber threats loom large and data breaches are an unfortunate reality, relying on the age-old password "123456" or "password" is akin to leaving the front door of your virtual fortress wide open. Our Password Generator Tool is the solution you've been searching for, providing you with the means to effortlessly generate strong, unique passwords that stand as guardians of your online identity.
Prerequisites:
Basic knowledge of HTML, CSS, and JavaScript.
A code editor of your choice.
Step 1: Set Up Your Project:
Create a new folder for your project, project name as per your wish I have created a project name called Random Strong Password and inside it, create three files: index.html, style.css, and script.js. These files will serve as the foundation for your Random Strong Password. Otherwise, if you want clone my Project-Structure-Example and start working with me.
Step 2: Build the Basic HTML Structure:
In the index.html file, create the HTML structure for your app and add the HTML Boilerplate with linking files (style.css, script.js) into an HTML file.
The <link> tag defines the relationship between the current document and an external resource. (style.css)
The <script> tag is used to embed a client-side script (JavaScript). or it points to an external script file through the src attribute. (script.js)
<!DOCTYPE html>
<html lang="en">
  <head>
    <meta charset="UTF-8" />
    <meta name="viewport" content="width=device-width, initial-scale=1.0" />
    <title>Password Generator - By Sharathchandar.K</title>
    <link rel="stylesheet" href="style.css" />
  </head>
  <body>
    <!-- Container here -->
    <script type="text/javascript" src="script.js"></script>
  </body>
</html>
First, will add the div with the class attribute value of the container inside the body element. The div tag defines a division or a section in an HTML document.
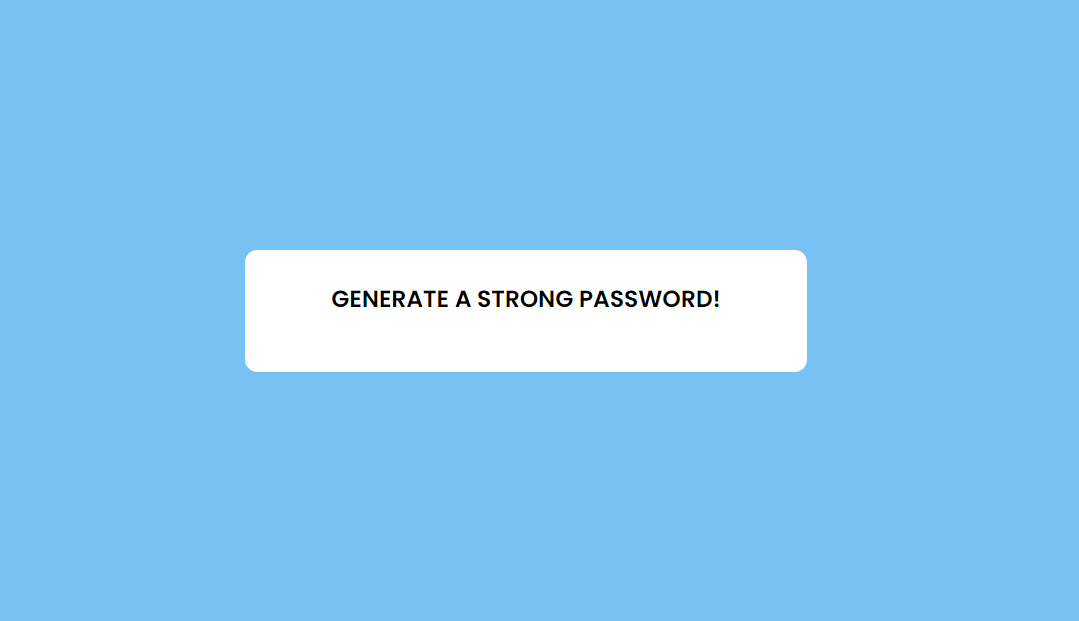
<div class="container">
    <h3>GENERATE A STRONG PASSWORD!</h3>
    <!-- Inside the container will add an HTML elements.-->
</div>
Step 3: Style Your App with CSS:
In the style.css file, and add CSS rules to make your app visually appealing.
We are setting all elements to have zero margins and zero padding, this will make the same in all the browsers. with the help of * and the font family Poppins and then will set the background color to the entire body with styles to the container too.
@import url("https://fonts.googleapis.com/css2?family=Poppins:wght@400;500;600&display=swap");
* {
  margin: 0;
  padding: 0;
  font-family: "Poppins", sans-serif;
  box-sizing: border-box;
}

body {
  background: #78c1f3;
  min-height: 100vh;
  display: flex;
  align-items: center;
  justify-content: center;
}

.container {
  background: #ffffff;
  padding: 25px;
  width: 450px;
  border-radius: 10px;
}

.container h3 {
  text-align: center;
  margin-bottom: 20px;
}
Step 4: Implementing Input Box:
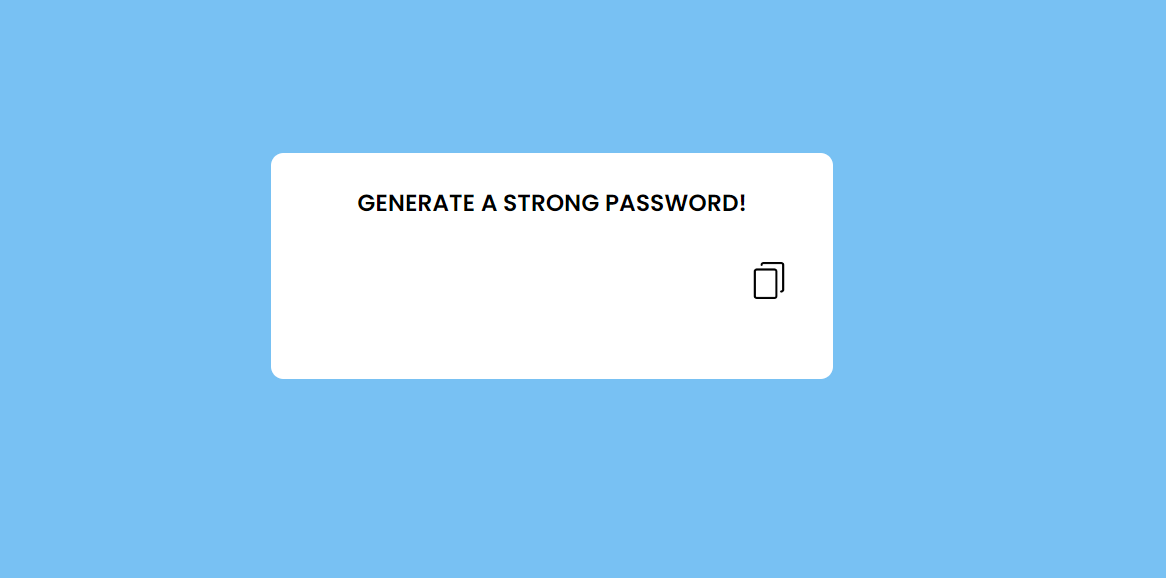
Inside the container will add the password body as a div with text area, the text area contains input element with type text and image as a event to copy the generated password to the clipboard.
<div class="text-area">
    <input
    type="text"
    id="strongPasswordValue"
    value="PASSWORD"
    disabled
    />
    <img
    src="/images/copy.png"
    id="CopySuccess"
    onclick="CopyStrongPassword()"
    />
</div>
and will add the styles to the above text area and img.
.text-area {
  display: flex;
  align-items: center;
  justify-content: space-between;
  border-radius: 30px;
  padding-left: 20px;
  margin-bottom: 25px;
}

.text-area input {
  flex: 1;
  border: none;
  outline: none;
  background: transparent;
  color: #ffffff;
  padding: 15px 0;
  font-size: 18px;
  text-align: center;
}

.text-area img {
  height: 30px;
  margin-right: 3%;
  cursor: pointer;
}
Step 4.1: Implementing Password Range & Value:
Below the input area will add another div with class value of password-length this will contain range input and value input based on user preference user can dynamically set the password length with the help of this options.
<div class="password-length">
    <input
    type="range"
    id="rangeInput"
    min="6"
    max="25"
    value="8"
    oninput="rangeValue.value = this.value"
    />
    <input
    type="number"
    id="rangeValue"
    min="6"
    max="25"
    value="8"
    oninput="rangeInput.value = this.value"
    />
</div>
will add the styles to the above HTML element to display with style.
.password-length {
  display: flex;
  align-items: center;
  justify-content: space-between;
  padding-left: 5px;
  margin-bottom: 25px;
}

.password-length input[type="range"] {
  width: 100%;
}
.password-length input[type="number"] {
  width: 55px;
  padding: 5px 0;
  text-align: center;
  font-size: 18px;
  border: none;
  outline: none;
  font-weight: 500;
}

Step 4.2: Implementing Checkbox's to generate password:
after adding password length below that will add the set of check box lists with the help of label to mention what was the checkbox and input type checkbox will help the select that option based on the selection tool will generate the password.
<div class="checkBox-list">
    <label class="options" for="Uppercase"
    ><input id="Uppercase" type="checkbox" value="Uppercase" checked />
    Include Uppercase Letters (A-Z)</label
    >
    <label class="options" for="Lowercase"
    ><input id="Lowercase" type="checkbox" value="Lowercase" /> Include
    Lowercase Letters (a-z)</label
    >
    <label class="options" for="Numbers"
    ><input id="Numbers" type="checkbox" value="Numbers" /> Include
    Numbers (0-9)</label
    >
    <label class="options" for="Symbols"
    ><input id="Symbols" type="checkbox" value="Symbols" /> Include
    Symbols (@-$)</label
    >
    <label class="options" for="Duplicate"
    ><input id="Duplicate" type="checkbox" value="Duplicate" /> Exclude
    Duplicate Characters</label
    >
</div>
<button class="generatePassword">Generate Password</button>
in the above code check box are Include Uppercase Letters (A-Z), Include Lowercase Letters (a-z), Include Numbers (0-9), Include Symbols (@-$) and Exclude Duplicate Characters with Generate Password Button.
.checkBox-list .options {
  display: flex;
  flex-wrap: wrap;
  height: 35px;
  align-content: center;
  cursor: pointer;
}

.checkBox-list .options input {
  margin-right: 10px;
  margin-top: 4px;
  height: 18px;
  width: 18px;
  cursor: pointer;
}

.generatePassword {
  width: 100%;
  font-size: 16px;
  background: #78c1f3;
  color: #000000;
  border: none;
  outline: none;
  padding: 3%;
  border-radius: 30px;
  font-weight: 500;
  cursor: pointer;
  text-transform: uppercase;
  margin-top: 25px;
}
Step 5: Implement the JavaScript Functionality:
In the script.js file, which will write the JavaScript code to make your app interactive. Create declarations and functions for manipulating operations in the calculator. You can use the Document Object Model (DOM) to manipulate elements in your HTML.
First will declare all the declarations with the help of a document object, the document object represents the owner of all other objects on your web page.
const passwordInput = document.getElementById("strongPasswordValue");
const copySuccess = document.getElementById("CopySuccess");
const rangeInput = document.getElementById("rangeInput");
const rangeValue = document.getElementById("rangeValue");
const generatePassword = document.querySelector(".generatePassword");
const options = document.querySelectorAll(".options input");
for (const opt of options) {
  opt.addEventListener("click", generateStrongPassword);
}
with the help of above declaration will generate strong password along with this declaration we need characters patten to match and generate a password values.
const Characters = {
  Uppercase: "ABCDEFGHIJKLMNOPQRSTUVWXYZ",
  Lowercase: "abcdefghijklmnopqrstuvwxyz",
  Numbers: "0123456789",
  Symbols: "~!@#$%^&*()_+{}[].,:;|",
};
with the above characters array will generate a combination of password values with the selection of checkbox list and range input from the design.
Now will create a function for copy strong password this function will help to copy the password text in to the clipboard and we can paste it anywhere using ctrl + v.
function CopyStrongPassword() {
  if (passwordInput.value !== "") {
    copySuccess.setAttribute("src", "/images/tick.png");
    navigator.clipboard.writeText(passwordInput.value);

    setTimeout(function () {
      copySuccess.setAttribute("src", "/images/copy.png");
    }, 2000);
  }
}
Once we hit that copy button it will copy the text to clipboard and change the icon to tick and will check back the copy icon again with in 2 seconds. so user knows it was copied on the board and ready to paste anywhere.
and now will create the magic function to create a strong password with the function name generate strong password. inside this function will check all the selected option based on this function will return a set of string used as a strong password.
generatePassword.addEventListener("click", generateStrongPassword);
function generateStrongPassword() {
  let randomPassword = "",
    strongPassword = "",
    excludeDuplicate = false;

  options.forEach((option) => {
    if (option.checked && option.id !== "Duplicate") {
      randomPassword += Characters[option.id];
    }
    if (option.checked && option.id === "Duplicate") {
      excludeDuplicate = true;
    }
  });

  if (randomPassword !== "") {
    if (excludeDuplicate && randomPassword.length < rangeInput.value) {
      alert(
        "We Can't get password without Duplicate for selected options and length!"
      );
      passwordInput.value = "";
    } else {
      for (let i = 0; i < rangeInput.value; i++) {
        let charAt =
          randomPassword[Math.floor(Math.random() * randomPassword.length)];
        if (excludeDuplicate) {
          !strongPassword.includes(charAt) ? (strongPassword += charAt) : i--;
        } else {
          strongPassword += charAt;
        }
      }
      passwordInput.value = strongPassword;
    }
  } else {
    passwordInput.value = "";
  }
}
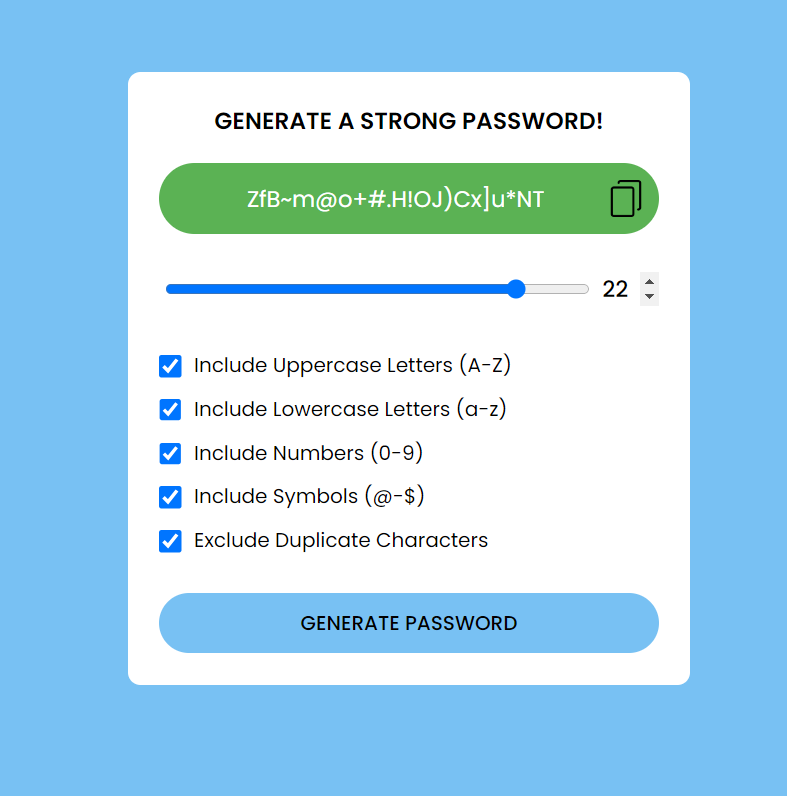
the above function generate a password string as well as validate the selected range from the user based on length will generate a password for example we have selected a number with 0-9 without duplicate and length of 12 it is not possible generate a password right that time this method will check the validation and returns the error message of "We Can't get password without Duplicate for selected options and length!". this is a useful validation to any user can understand they can change a length or select a duplicate option to generate password.
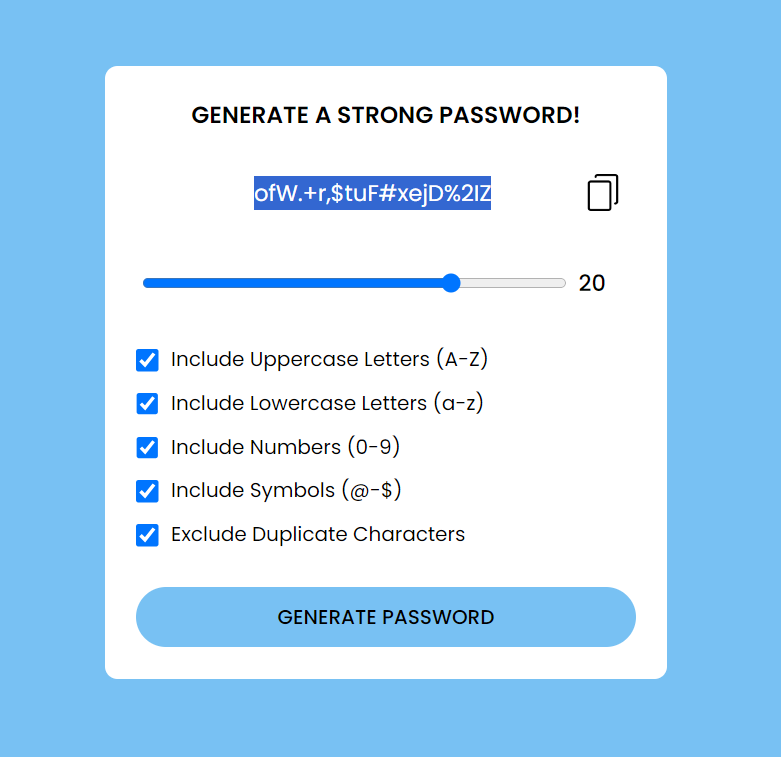
the above image shows the generated password with selected of all given options
Now will create a event listener for password indicator value based on password length.
rangeInput.addEventListener("input", setPasswordIndicator);
rangeValue.addEventListener("input", setPasswordIndicator);

function setPasswordIndicator() {
  let indicator =
    rangeInput.value <= 8
      ? "weak"
      : rangeInput.value <= 16
      ? "medium"
      : "strong";
  passwordInput.parentElement.id = indicator;
  passwordInput.parentElement.title = "Your password is " + indicator;
  generateStrongPassword();
}
once user select the length of 8 or below then 8 the background color of the text area will be indicate a danger of red color.
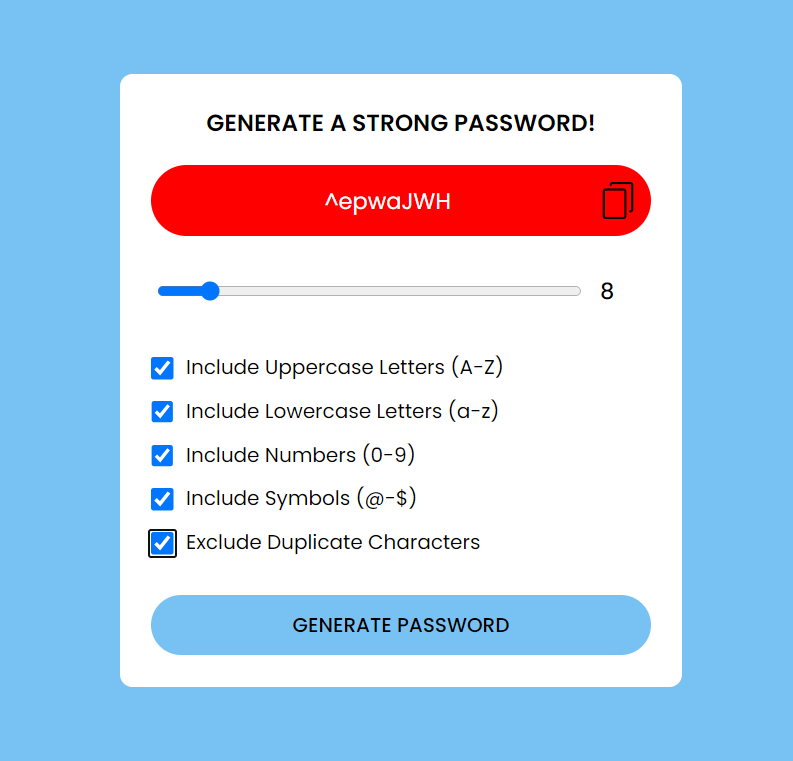
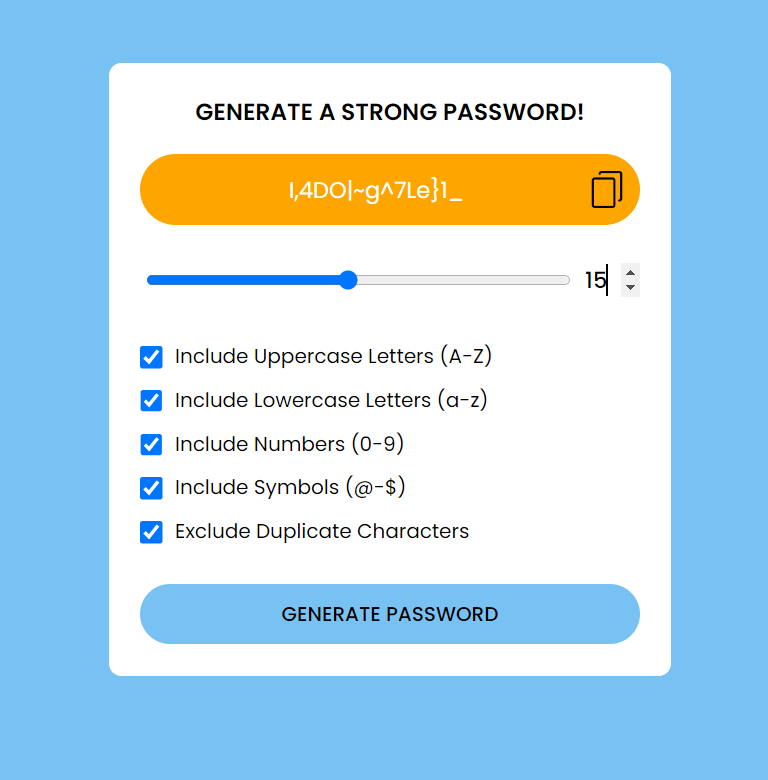
once user select the length of above 8 or less then equals 16 the background color of the text area will be indicate a warning of orange color.
once user select the length of above 16 the background color of the text area will be indicate a strong of green color.
Step 6: Test and Customize:
Open your index.html file in a web browser to test your Strong Password Generator. Now you can perform all the operations to check Only with Uppercase Letters (A-Z) or Only with Lowercase Letters (a-z) or Only with Numbers (0-9) or Only with Symbols (@-$) with Exclude Duplicate Characters or all the combination at the same time or will try with different combination tooo. You can further customize and enhance your app by implementing features like how many hours to crack this password with the exact calculation to be displayed in the detailed view.
Conclusion:
Congratulations! You've successfully created an Strong Password Generator using HTML, CSS, and JavaScript. This project is an excellent starting point for learning web development and the javascript array & string operations that can be expanded with additional features to suit your needs. Happy coding!
Join our ever-growing community on YouTube, where we explore Full Stack development, learn, and have fun together. Your subscription is a vote of confidence, and it enables us to keep producing high-quality, informative videos that you can enjoy and share with your friends and family.
So, if you haven’t already, please hit that subscribe button, click the notification bell, and be a part of our YouTube family. Let’s continue learning, growing, and sharing knowledge in exciting and innovative ways.
Thank you once again for your support, and we look forward to seeing you on our YouTube channel!


