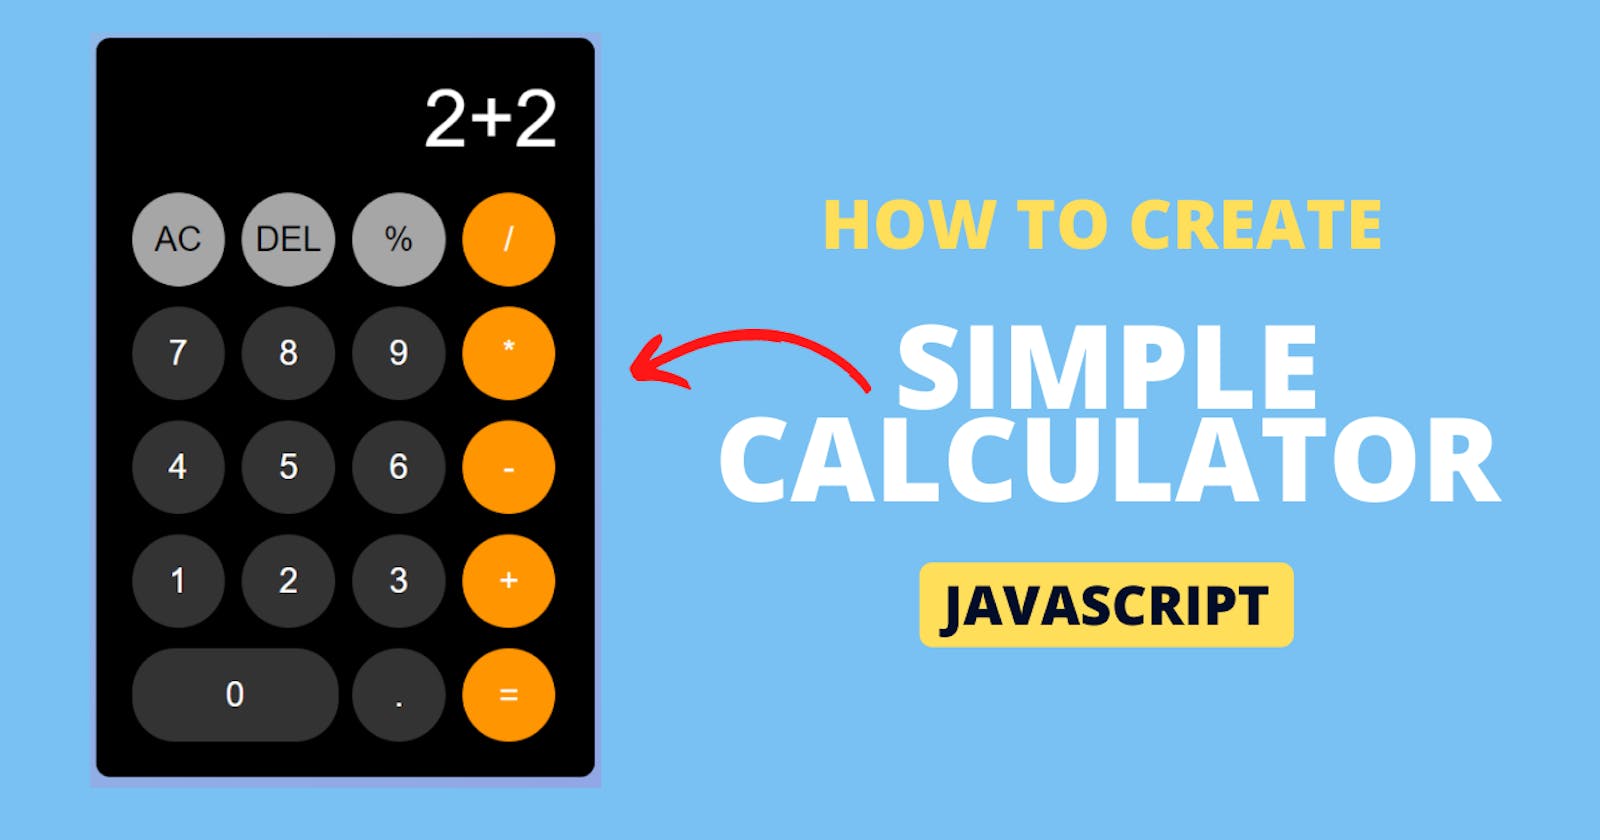
How To Create a Calculator Using HTML CSS & JavaScript | Simple Calculator in JavaScript
#Week 03 of 52 Weeks in JavaScript Projects
Overview:
Welcome to our JavaScript Calculator Coding Tutorials.
In this article, we'll walk you through a step-by-step guide to building a fully functional calculator application from scratch using HTML, CSS and of course JavaScript.
You'll learn how to implement the logic behind the calculator's operations, including addition, subtraction, multiplication, and division and the process of creating your very own calculator effectively.
💫 Watch Live Preview 👉 Simple Calculator
Throughout this video, we'll cover key concepts such as DOM manipulation, event handling, and Arithmetic Operations that will enable you to build an interactive and user-friendly calculator and display the results dynamically on the screen.
📝 Simple Calculator App using JavaScript 👇
By the end of this video, you'll have a powerful functional calculator that you can customize to do mathematical operations on a website using JavaScript.
Let's get started on creating your own javascript-powered calculator app now! HAPPY CODING!
You might like this: Sticky Note - Mini Text Editor
Introduction:
Ready to add a practical touch to your web development skills? The humble calculator has come a long way from its physical origins, and now you can create your digital version. we'll guide you through the essential steps to craft a functional calculator that you can showcase in your portfolio or use for everyday calculations. This project is not only educational but also practical for everyday use.
Prerequisites:
Basic knowledge of HTML, CSS, and JavaScript.
A code editor of your choice.
Step 1: Set Up Your Project:
Create a new folder for your project, project name as per your wish I have created a project name called Calculator and inside it, create three files: index.html, style.css, and script.js. These files will serve as the foundation for your calculator. Otherwise, if you want clone my Project-Structure-Example and start working with me.
Step 2: Build the Basic HTML Structure:
In the index.html file, create the HTML structure for your app and add the HTML Boilerplate with linking files (style.css, script.js) into an HTML file.
The <link> tag defines the relationship between the current document and an external resource. (style.css)
The <script> tag is used to embed a client-side script (JavaScript). or it points to an external script file through the src attribute. (script.js)
<!DOCTYPE html>
<html lang="en">
  <head>
    <meta charset="UTF-8" />
    <meta name="viewport" content="width=device-width, initial-scale=1.0" />
    <title>Calculator - By Sharathchandar.K</title>
    <link rel="stylesheet" href="style.css" />
  </head>
  <body>
     <!-- Container here -->
    <script type="text/javascript" src="script.js"></script>
  </body>
</html>
First, will add the div with the class attribute value of the container inside the body element. The div tag defines a division or a section in an HTML document.
<div class="container">
<!-- Inside the container will add an HTML elements.-->
</div>
Step 3: Style Your App with CSS:
In the style.css file, and add CSS rules to make your app visually appealing.
We are setting all elements to have zero margins and zero padding, this will make the same in all the browsers. with the help of * and the font family Helvetica Neue. and then will set the background color to the entire body with styles to the container too.
* {
  margin: 0;
  padding: 0;
  font-family: "Helvetica Neue", sans-serif;
  box-sizing: border-box;
}

body {
  background-color: #8bc6ec;
  min-height: 100vh;
  display: flex;
  align-items: center;
  justify-content: center;
}

.container {
  background: #000000;
  padding: 25px;
  width: 350px;
  border-radius: 10px;
}
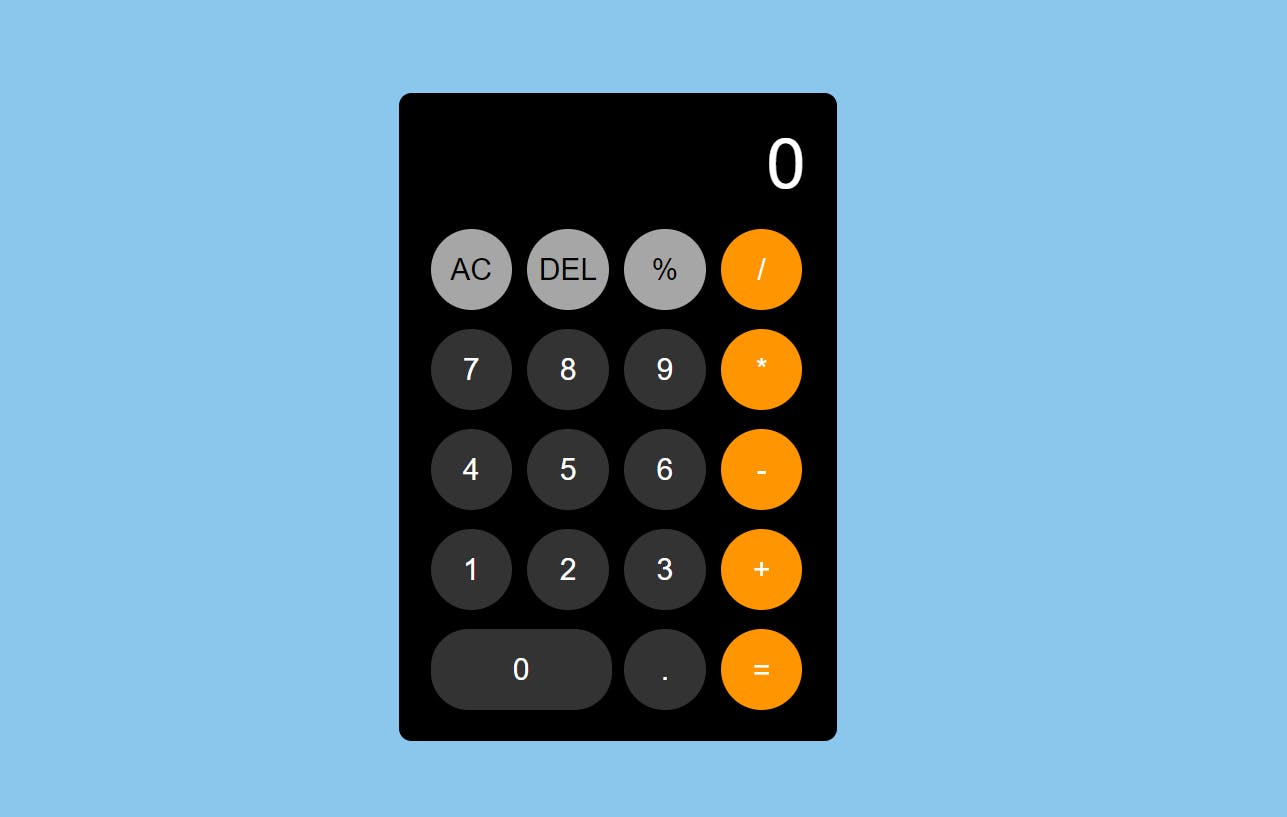
After Adding Styles to the body and container this is how our output will look like.

Step 3.1: Implementing Display Text area:
Now will add the <p> tag as a display area where the user can type and perform the calculation operations and display the input/output.
<div class="calc-text">
    <p name="user-input" id="user-input">0</p>
</div>
Will set the styling to the div class calc-text area as well as the <p> tag.
.calc-text {
  margin-bottom: 20px;
  padding-left: 5px;
}

.calc-text p {
  width: 100%;
  font-size: 3.5rem;
  text-align: end;
  background: transparent;
  color: #fff;
  border: none;
  outline: none;
  word-wrap: break-word;
  word-break: break-all;
}

Step 3.2: Implementing Buttons for Calc Operations:
We're going to add the 20 buttons inside the div element with the class attribute and value of "calc-keys", the button values contain 0 to 9, dot (.) and calculation operations like Addition, Subtraction, Multiplication, Division and Percentage. and then we have buttons with delete the values one by one, or we can able to clear the entire display.
<div class="calc-keys">
    <button type="button" class="key-others operations">AC</button>
    <button type="button" class="key-others operations">DEL</button>
    <button type="button" class="key-others operations">%</button>
    <button type="button" class="key-operate operations">/</button>
    <button type="button" class="numbers">7</button>
    <button type="button" class="numbers">8</button>
    <button type="button" class="numbers">9</button>
    <button type="button" class="key-operate operations">*</button>
    <button type="button" class="numbers">4</button>
    <button type="button" class="numbers">5</button>
    <button type="button" class="numbers">6</button>
    <button type="button" class="key-operate operations">-</button>
    <button type="button" class="numbers">1</button>
    <button type="button" class="numbers">2</button>
    <button type="button" class="numbers">3</button>
    <button type="button" class="key-operate operations">+</button>
    <button type="button" class="key-zero numbers">0</button>
    <button type="button" class="numbers">.</button>
    <button type="button" class="key-operate operations">=</button>
</div>
in the above code, the button class value differs based on the operations of what that button does on the calculator view. For example: we are typing the numbers or we manipulate the operations on the calculator. based on these operations we have added the styles below to identify the buttons to the users on the calculator.
button {
  background: #333333;
  color: #fff;
  font-size: 1.5rem;
  border: none;
  border-radius: 70%;
  cursor: pointer;
  height: 65px;
  width: 65px;
}

button:active,
button:focus {
  filter: brightness(120%);
}

.calc-keys {
  display: grid;
  grid-template-columns: repeat(4, 1fr);
  grid-row-gap: 15px;
  grid-column-gap: 10px;
}

.key-zero {
  grid-column: span 2;
  width: 100%;
  border-radius: 30px;
}

.key-operate {
  background: #ff9501;
}

.key-others {
  background: #a6a6a6;
  color: #000000;
}
Step 4: Implement the JavaScript Functionality:
In the script.js file, which will write the JavaScript code to make your app interactive. Create declarations and functions for manipulating operations in the calculator. You can use the Document Object Model (DOM) to manipulate elements in your HTML.
First will declare all the declarations with the help of a document object, the document object represents the owner of all other objects on your web page.
const inputValue = document.getElementById("user-input");
with the help of this above declaration will manage to show input/output for the operations that the user performed in the calculator.
Now will add another declaration with document.querySelectorAll this will help to get all the elements based on the value/parameter. For Example, if we give a value/parameter with the element name called div, it will get all the elements containing div in the current document else will give an attribute value with the help of dot-like (.numbers) with the class value, this will get all the elements with the class values of numbers.
const number = document.querySelectorAll(".numbers").forEach(function (item) {
  item.addEventListener("click", function (e) {
    if (inputValue.innerText === "NaN") {
      inputValue.innerText = "";
    }
    if (inputValue.innerText === "0") {
      inputValue.innerText = "";
    }
    inputValue.innerText += e.target.innerHTML.trim();
  });
});
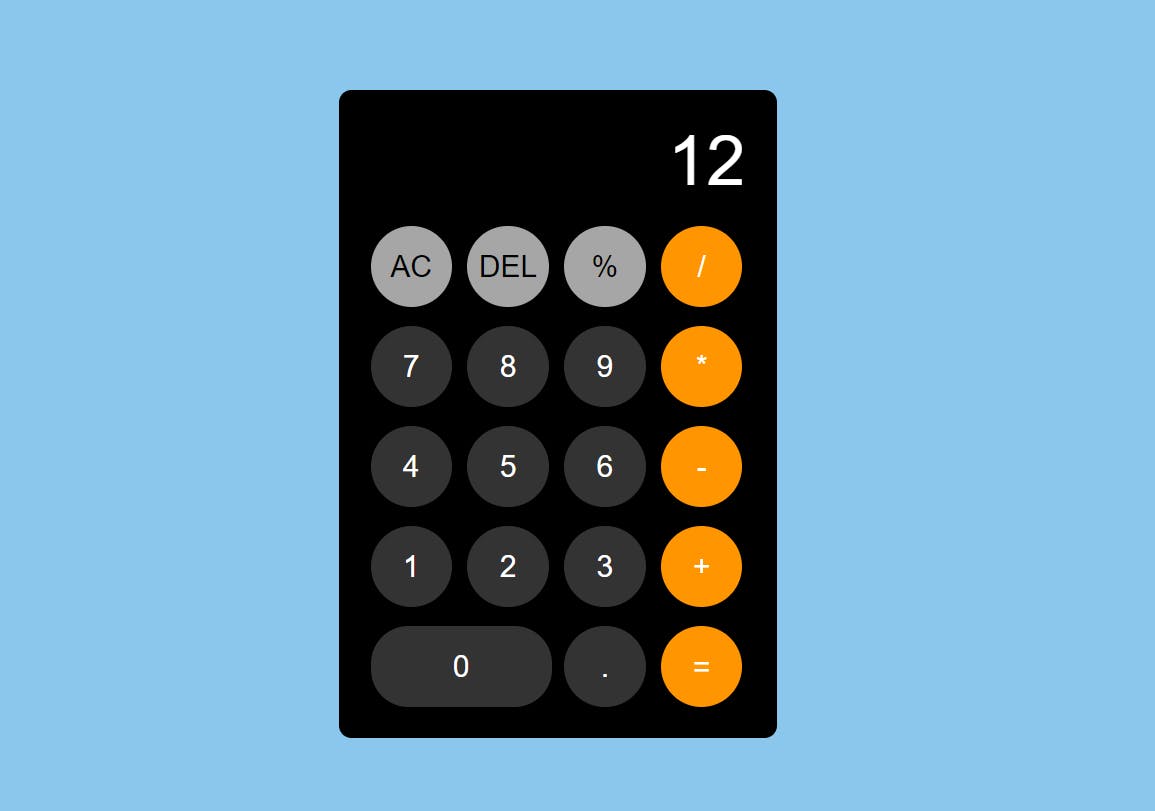
And will foreach all the received elements from the queryselectorall, then will add the event called click, based on the selector will add the events only for numbers and will add the innerText into the calc display. For Example, if the user clicks 1 from the buttons we have added a click event to the buttons, based on the click we have received the innerText of that particular button like 1, 2 then the tool will concatenate and display the values in the display area on calc as show as below.
in the above code, we have added two if conditions: 1st if condition will check if inputValue as NaN (Not a Number) then this condition will satisfied and clear the screen. 2nd if condition checks if the screen value is 0 and the user tries to again add the 0 it should not concatenate the number with only 0s, so if this condition is satisfied will clear the screen and set it to null.
And will perform operations like Addition, Subtraction, Multiplication and Division all in one event with the help of queryselectorAll will add the declaration with the help of a class selector (.operations) based on the buttons in the calculator will add the operations and will calculate and display the results.
const calculate = document
  .querySelectorAll(".operations")
  .forEach(function (item) {
    item.addEventListener("click", function (e) {
      console.log(e.target.innerHTML);
    });
  });
in the above declaration once the user clicks the operational buttons in the console.log will receive the operational patterns based on click with the help of innerText like AC, DEL, %, /, *, -, + and =. because we have added a conditions only class values contains (.operations).

now will add the condition inside the above declarations and click the event based on target values will perform the operations.
let lastValue = inputValue.innerText.substring(inputValue.innerText.length, inputValue.innerText.length - 1);

if (!isNaN(lastValue) && e.target.innerHTML === "=") {
    inputValue.innerText = eval(inputValue.innerText);
} else if (e.target.innerHTML === "AC") {
    inputValue.innerText = 0;
} else if (e.target.innerHTML === "DEL") {
    inputValue.innerText = inputValue.innerText.substring(0,inputValue.innerText.length - 1);
    if (inputValue.innerText.length == 0) {
        inputValue.innerText = 0;
    }
} else {
    if (!isNaN(lastValue)) {
        inputValue.innerText += e.target.innerHTML;
    }
}
First will check the last value of the calculator input with the help of a substring it will get the last value with this last value if this is not a number will do the operations else will append it to the display value.
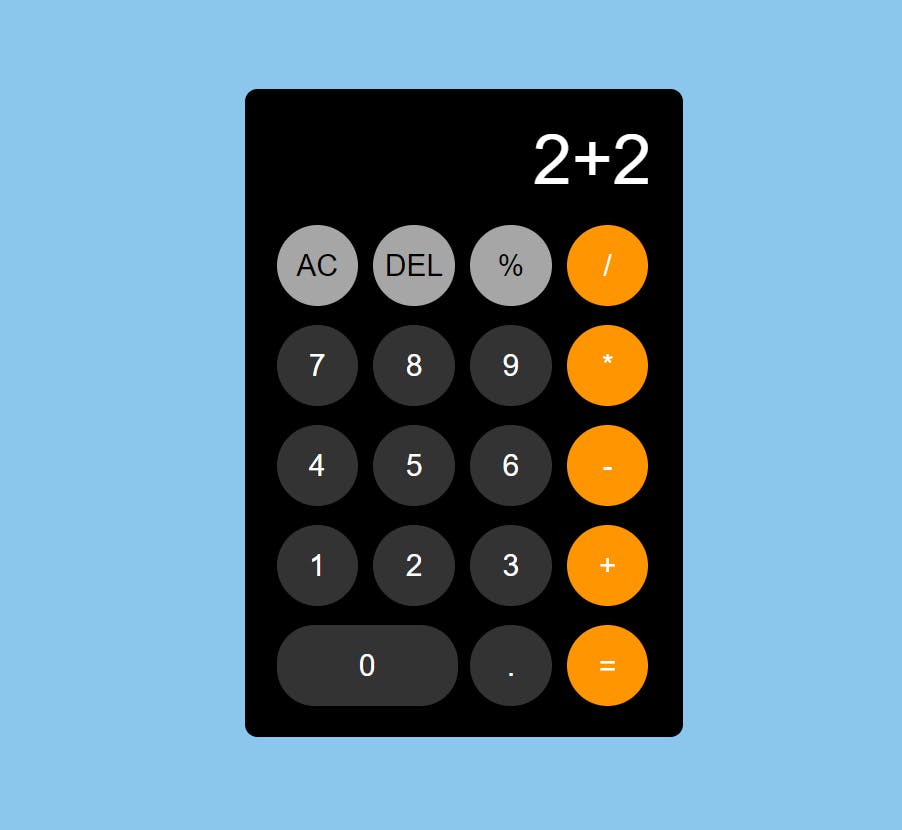
like above we added a number with an operation like addition + and will hit the equals = in the if condition we are checking the last value does not equal NAN and innerText is = then will do the operation with eval (The eval() function in JavaScript is used to evaluate the expression.) and return the results directly into the display.
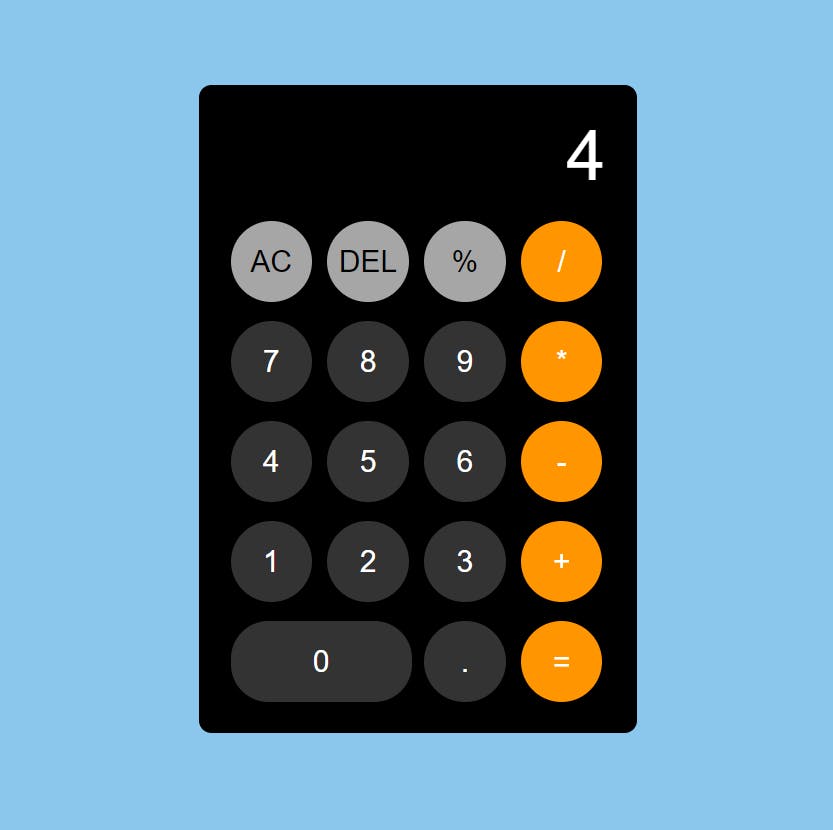
and then in the else part if the user clicks AC in operation buttons we need to clear the entire screen so for that will directly set the display value to 0.
and then in the else part if the user clicks DEL in operation buttons we need to delete the values from the end one by one so that with the help of substring will get the length of the input value and reduce it by -1 it will delete the last values based on the click. if the length is 0 will directly assign the display value to 0.
Step 7: Test and Customize:
Open your index.html file in a web browser to test your Calculator. Now you can perform all the basic operations on the calculator like Addition, Subtraction, Multiplication, Division and Percentage for multiple values and see the results immediately in the display, and have options to delete and clear the screen too. You can further customize and enhance your app by implementing features like storing the previous value with local storage and retrieving the display in the list so that user can able to view the old operations.
Conclusion:
Congratulations! You’ve successfully created a simple calculator app using HTML, CSS, and JavaScript. This project is an excellent starting point for learning web development and can be expanded with additional features to suit your needs. Happy coding!
Join our ever-growing community on YouTube, where we explore Full Stack development, learn, and have fun together. Your subscription is a vote of confidence, and it enables us to keep producing high-quality, informative videos that you can enjoy and share with your friends and family.
So, if you haven’t already, please hit that subscribe button, click the notification bell, and be a part of our YouTube family. Let’s continue learning, growing, and sharing knowledge in exciting and innovative ways.
Thank you once again for your support, and we look forward to seeing you on our YouTube channel!
